Used Engine Installation Guide: What to Check Before First Start
September 4, 2026 • Used OEM Engines
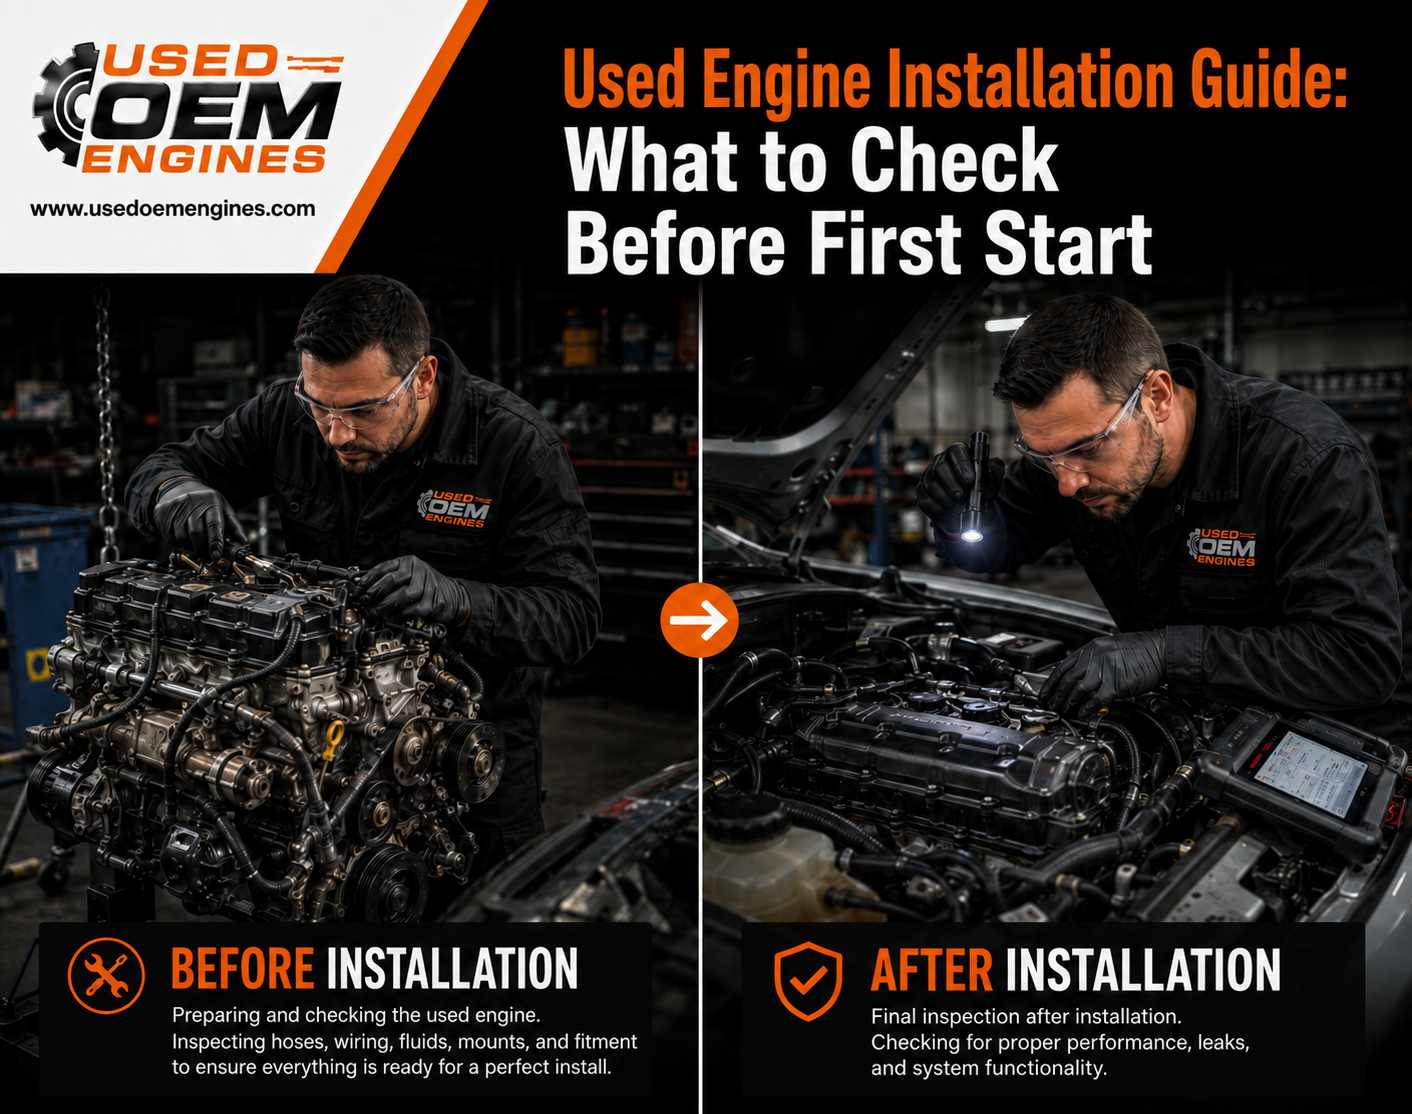
Installing a used engine can be a smart way to repair a vehicle without paying the cost of a brand-new engine. But the installation process is just as important as the engine itself.
Even a good replacement engine can develop problems if the cooling system is not checked, old damaged parts are reused, fluids are incorrect, or the engine is started without proper preparation.
This guide covers the most important things to check before, during, and after a used engine installation.
1. Confirm the Engine Is Correct
Before installation, make sure the engine matches your vehicle.
Check:
-
Year
-
Make
-
Model
-
VIN
-
Engine size
-
Engine code, if required
Do not rely only on appearance. Two engines can look similar but have different sensors, wiring, oil pans, mounts, emissions parts, or transmission connections.
Whenever possible, compare the replacement engine with the original engine before installing it.
2. Inspect the Used Engine Before Installation
Check the engine carefully before putting it into the vehicle.
Look for:
-
Cracks
-
Oil leaks
-
Coolant leaks
-
Broken sensors
-
Damaged connectors
-
Bent brackets
-
Damaged pulleys
-
Broken mounting points
-
Oil-pan damage
If the engine arrived by freight, inspect the pallet and packaging too.
Taking photos before installation is also a good idea.
3. Find Out Why the Old Engine Failed
Do not install another engine until you understand why the original one failed.
For example, if the old engine overheated, the real problem may be a:
-
Bad radiator
-
Failed cooling fan
-
Faulty thermostat
-
Water pump problem
-
Coolant leak
-
Blocked cooling system
If the original problem is not repaired, the replacement engine can fail for the same reason.
4. Check the Cooling System
The cooling system should be inspected before the first start.
Check the:
-
Radiator
-
Water pump
-
Thermostat
-
Cooling fans
-
Hoses
-
Clamps
-
Coolant reservoir
-
Heater hoses
If the original engine overheated badly, the cooling system may also need cleaning or flushing.
Use the correct coolant and make sure trapped air is removed from the system.
Air pockets can cause overheating even when the coolant level looks normal.
5. Replace Wear Items While the Engine Is Out
Some parts are much easier to replace before the engine goes into the vehicle.
Depending on the engine and its condition, your mechanic may recommend checking or replacing:
-
Spark plugs
-
Thermostat
-
Water pump
-
Drive belts
-
Cooling hoses
-
Valve-cover gaskets
-
Front or rear seals
-
Timing belt
-
Timing components
Not every engine needs all of these parts replaced.
The goal is to deal with worn or service-due components while access is easy.
6. Transfer the Correct Components
Used engines may arrive with accessories attached, but that does not mean every attached part should be used.
The installer may need to transfer parts from the original engine, such as:
-
Alternator
-
Starter
-
A/C compressor
-
Sensors
-
Wiring harness
-
Intake manifold
-
Exhaust manifold
-
Engine mounts
-
Brackets
-
Flexplate or flywheel
Always compare both engines carefully.
A component may physically fit but still be different electronically or mechanically.
7. Use Fresh Oil and a New Filter
Do not assume the oil inside a used engine is ready for use.
Before startup:
-
Install a new oil filter
-
Add the correct engine oil
-
Use the manufacturer-recommended oil grade
-
Fill the correct amount
Fresh oil gives you a clean starting point for future maintenance.
8. Prime the Engine Before First Start
A used engine may have been sitting for some time before installation.
Oil may not immediately reach all internal parts when the engine starts.
The lubrication system should be prepared according to the correct procedure for that vehicle.
Some engines can be cranked with fuel and ignition disabled until oil pressure builds. Others may require a different method.
Follow the manufacturer's repair instructions.
9. Check Wiring and Ground Connections
Modern engines rely heavily on sensors and electrical systems.
Before starting the engine, check important connections such as:
-
Crankshaft sensor
-
Camshaft sensor
-
Ignition coils
-
Fuel injectors
-
Coolant sensor
-
Oil-pressure sensor
-
Throttle body
-
Ground straps
-
Starter
-
Alternator
-
Main engine harness
A loose ground wire or missed connector can cause starting problems, warning lights, or fault codes.
10. Fill All Required Fluids
Before startup, make sure all required fluids are at the correct level.
This may include:
-
Engine oil
-
Coolant
-
Transmission fluid
-
Power-steering fluid
Always follow the vehicle manufacturer's specifications.
11. Watch the First Startup Carefully
The first startup should never be rushed.
Once the engine starts, watch for:
-
Oil-pressure warning
-
High temperature
-
Check-engine light
-
Coolant leaks
-
Oil leaks
-
Fuel leaks
-
Unusual noises
-
Smoke
-
Strong smells
Do not immediately rev the engine.
Let it idle and monitor it.
If oil pressure is low or the engine begins to overheat, shut it down and find the cause.
12. Monitor the Cooling System
Let the engine reach normal operating temperature.
Check that:
-
The thermostat opens
-
Cooling fans turn on
-
Coolant circulates
-
Temperature stays normal
-
The heater works correctly
After the engine cools, check the coolant level again.
Some vehicles may need more than one bleeding cycle to remove air from the cooling system.
13. Scan for Trouble Codes
After installation, scan the vehicle with a diagnostic tool.
Even if the check-engine light is not on, there may be stored or pending codes.
Possible issues include:
-
Missed sensor connections
-
Vacuum leaks
-
Misfires
-
Throttle relearn
-
Cam or crank sensor faults
-
Emissions-system problems
Some vehicles may also need programming, coding, or relearn procedures after engine replacement.
14. Take a Short Test Drive
Once everything looks normal, take a short test drive.
Avoid hard acceleration at first.
Watch for:
-
Temperature changes
-
Warning lights
-
Engine noise
-
Vibration
-
Smoke
-
Poor acceleration
-
Leaks
After the drive, inspect the engine again and recheck fluid levels once the vehicle cools.
Common Used Engine Installation Mistakes
Avoid these common problems:
-
Installing the wrong engine
-
Ignoring the cause of the original engine failure
-
Reusing contaminated fluids
-
Ignoring cooling-system problems
-
Starting the engine without proper lubrication preparation
-
Missing electrical connections
-
Reusing damaged hoses
-
Ignoring warning lights after startup
These mistakes can damage a good replacement engine.
Should a Used Engine Be Installed by a Professional?
For most vehicle owners, professional installation is recommended.
Engine replacement may require:
-
Special tools
-
Correct torque procedures
-
Diagnostic equipment
-
Electrical testing
-
Cooling-system bleeding
-
Computer relearns
-
Programming
An experienced mechanic can also identify other vehicle problems that could damage the replacement engine.
Final Thoughts
A successful used engine installation starts with preparation.
Make sure the engine is correct for your vehicle, inspect it before installation, repair the cause of the original engine failure, check the cooling system, use fresh fluids, and prepare the engine properly before startup.
During the first start, pay close attention to oil pressure, temperature, leaks, warning lights, and unusual sounds.
A quality used OEM engine can be a practical and affordable replacement, but proper installation plays a major role in how well that engine performs.
If you are still looking for a replacement engine, visit UsedOEMEngines.com to find used OEM engines matched to your vehicle information and VIN.